

A believable Blender scene needs more than a few good models. Buildings need streets around them, forests need variation, characters need clothes, and abandoned places need signs that something happened there. Those layers are also where a simple project can turn into weeks of work.
The tools in this collection tackle different parts of that process, from generating cities and designing trees to adding torn fabric, tangled cables, garbage, and rain. Some are full addons, while others are Geometry Nodes setups, shaders, or asset libraries. What connects them is the ability to build and change a scene without manually creating every detail.
We’ll start with destruction and decay, then move through architecture, nature, scene details, and characters.
Disclosure: This article contains affiliate links. Purchases through these links may earn me a commission at no extra cost to you. Destroyed City Generator is my own product.
Destruction, Decay, and Post-Apocalyptic Worlds
1. Damage Control Bundle — Give Your Environments a History
A building can have a convincing shape and still look as though it was finished yesterday. Damage Control helps you add the wear that makes an environment feel neglected, damaged, or abandoned.
The bundle combines procedural grunge masks, scattering tools, generative details, and extra shaders. Its Infinite Fracture tools focus on broken roads, bridges, and other large flat areas, while stackable scattering systems help build up surface detail.
For an apocalypse scene, I would use it to connect the big destruction to the smaller signs of decay: a fractured road, dirty surfaces, and scattered details that make the damage feel part of the environment. It is worth knowing some Geometry Nodes basics to get the most from it.
2. Trash Kit — Build Streets Nobody Wants to Live On

Trash Kit is a strong fit for dystopian streets, neglected neighborhoods, abandoned industrial spaces, and environments where everyday waste has been allowed to pile up.
The collection includes more than 700 assets, covering everything from bottles and cans to rubble, splintered wood, and larger clutter. That variety matters: repeating the same rubbish bag across an entire street quickly becomes noticeable.
You can place assets by hand, use the included Geometry Nodes scattering setup, or work with the supplied GeoScatter biomes if you use GeoScatter. Build dense piles around bins and walls, then scatter smaller pieces into the surrounding street. That gives the mess a believable pattern while leaving room to control your composition.
3. Destroyed City Generator — Start With the Whole Disaster
This one is my own tool, built around creating a ruined city as a complete environment.
Draw an area or choose a template, then generate streets, buildings, ruins, wrecked vehicles, and clutter. Destruction zones let you concentrate damage around an impact or along a path, giving the city a reason to look the way it does.
You can switch between clean and destroyed versions of the same city, then increase vegetation coverage to push the scene toward nature taking over. The cinematic shot tools also provide a starting point for atmosphere, camera movement, and post-processing.
For a disaster film, abandoned-city flyover, or overgrown urban scene, it gives you a large-scale foundation that you can continue refining around the camera.
Explore Destroyed City Generator
Cities, Buildings, and Large Structures
4. The City Generator — Build the Setting Around Your Story

The City Generator by Andreas Dürr focuses on creating procedural cities with controls collected in Blender’s side panel. Its advertised features include city layout controls, traffic simulation, night scenes, procedural material controls, and model export.
That makes it useful when a shot needs more than an isolated building. A rooftop scene, for example, becomes much more convincing when the camera can see surrounding streets and a skyline.
I would use it to establish the wider city, choose the camera angle, and then spend the detailed modeling time on the parts closest to the viewer. The traffic and night-scene options also give you ways to make the environment feel active.
5. iCity — Develop Streets, Blocks, and Urban Layouts

iCity is another option for procedural urban environments, with a system built around city blocks, buildings, roads, and street details.
Its documented features include highway conversion, customizable highway intersections, parking and green-area blocks, and road and sidewalk props. Those are useful ingredients when you want the city to feel connected beyond the skyline.
Think of a camera moving from a highway toward a dense neighborhood, or a street scene framed by towers and roadside trees. iCity gives you tools for developing that surrounding structure. Compare its building styles and street workflow with The City Generator’s examples; the best fit depends on the kind of city your project needs.
6. Procedural Building Generator 2 — Turn Your Mesh Into Architecture
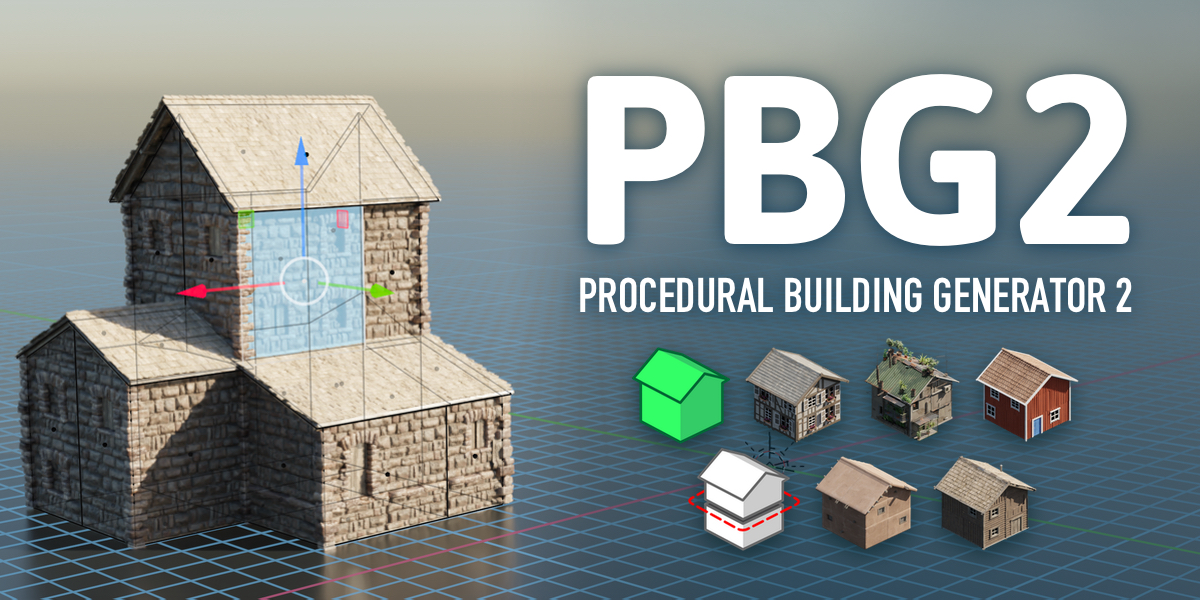
PBG 2 is especially interesting when you already have a building shape in mind. It generates architecture from your mesh, allowing you to adjust the result with familiar Blender operations such as extruding, moving vertices, and adding loop cuts.
Its modular styles can be combined, and its interior-mapping system places inexpensive room illusions behind windows. That helps buildings feel occupied without requiring a fully modeled interior behind every opening.
This is a useful approach for unusual silhouettes, dense housing, or buildings that need to fit a specific composition. Start with the mass of the structure, apply a preset, and refine the mesh while the procedural building follows.
Explore Procedural Building Generator 2
7. HouseCraft — Create Houses With Character
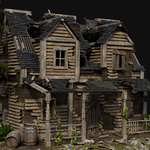
HouseCraft works well for scenes built around individual homes, cabins, and villages. Its procedural building tools include wall and roof styles such as wooden planks, logs, brick, and modern planks, with controls for architectural elements including windows and doors.
That gives you room to explore several versions of a location without rebuilding every house from the beginning. A woodland cabin, a small settlement, and a more contemporary home can each demand a different combination of materials and structure.
HouseCraft also includes destruction features, making it relevant to damaged settlements as well as intact ones. For a story centered on one house, that combination could support both the location and its aftermath.
8. Procedural Stadiums — Generate the Venue Around the Action
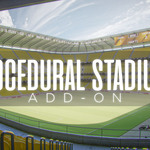
Stadiums are full of repetition, but the repetition has to be organized: rows of seats, access corridors, staircases, entrances, and large supporting structures.
Procedural Stadiums provides tools for generating venues for sports including football, basketball, ice hockey, and boxing. You can customize seating layouts, colors, tunnels, and other architectural features, and use images to create patterns across the seats.
For sports advertising, event visuals, or a cinematic arena reveal, it removes a large amount of repetitive construction. The product also advertises integration with Procedural Crowds; check the selected package if you need that crowd workflow as part of your purchase.
9. Platform Generator — Build Walkways, Decks, and Raised Structures
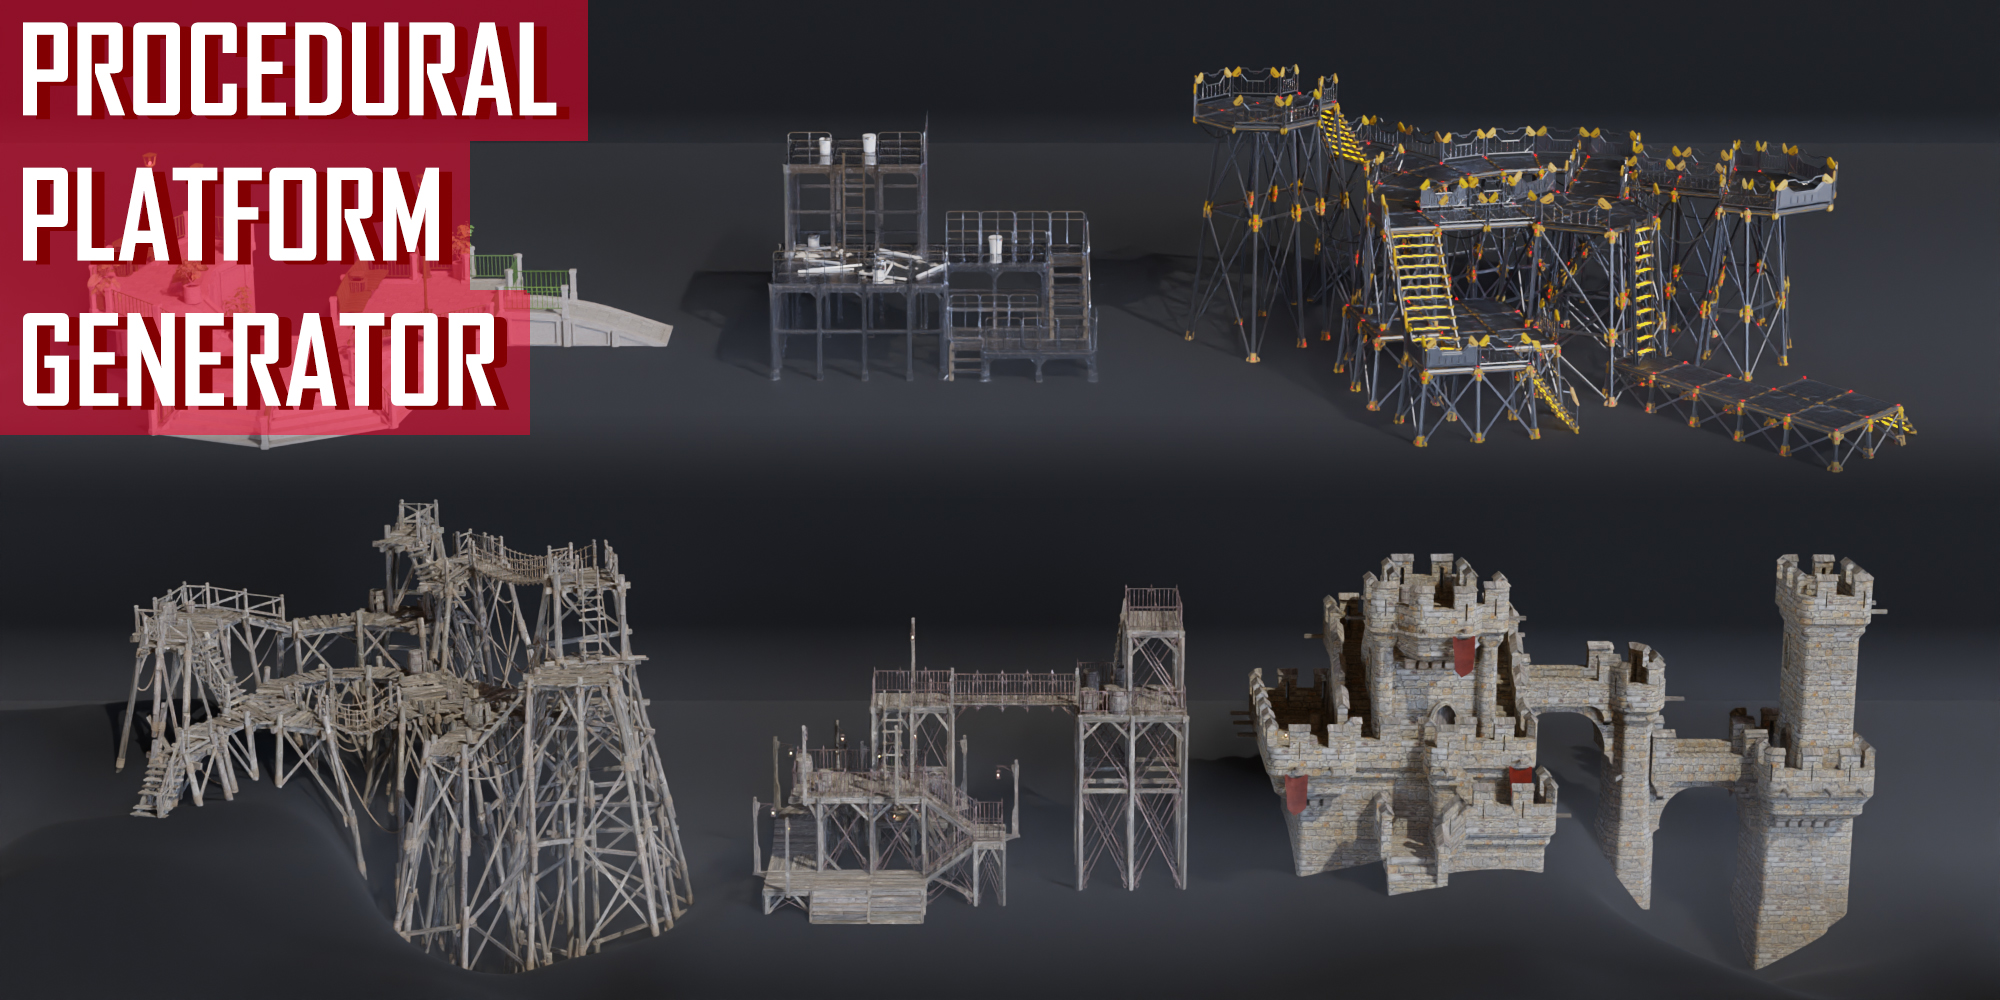
Platform Generator turns simple quad-based geometry into structures made from planks, beams, pillars, railings, and related details.
The underlying idea is easy to understand: vertices can become supports, edges become beams, and faces become platform surfaces. Additional controls handle elements such as stairs, ladders, bridges, and scattered objects, with several supplied styles and support for custom assets.
I would reach for it when building a dock, an elevated walkway, a wooden settlement, or access platforms around an industrial location. You can work on the route and overall shape first, then adjust the construction details through the procedural controls.
Trees, Landscapes, Water, and Weather
10. TreeDesigner — Design the Tree Your Shot Actually Needs
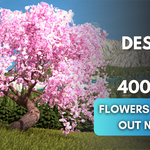
A tree library is convenient until you need a very specific silhouette: a crooked trunk framing a doorway, branches bending around a subject, or a stylized tree that matches the rest of your world.
TreeDesigner gives you procedural control over the trunk, roots, branches, and leaves, alongside variation and wind-animation controls. The listing also offers a package with more than 400 tree assets to use as starting points.
Its appeal is the ability to design a tree around the composition. You can shape the structure instead of searching through a library for something close enough. Check the edition before buying, because the standalone tool and the larger tree-library package have different contents.
11. Forest Generator — Build the Environment Between the Trees

Forest Generator takes a broader approach, helping you create a forest environment with procedural controls and biome options.
The product includes adjustable tree settings, areas where vegetation can be removed, and resolution controls for managing detail. These matter when you need a forest that supports a shot: a clearing for a character, an open route through the vegetation, or a detailed foreground backed by lighter distant trees.
TreeDesigner is useful for shaping an individual tree. Forest Generator is useful for establishing the forest around it. Your camera placement should guide where the scene needs close detail and where simpler vegetation will do the job.
12. The Nature Generator — Build a Landscape in Layers
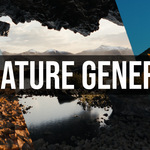
The Nature Generator provides a wider procedural environment workflow, combining customizable assets with geometry, material, and scattering controls.
Its features include scattering rocks, grass, moss, shrubs, snow, or custom objects, along with water surfaces and layered surface effects. Resolution controls let you adjust the amount of geometry, while material settings help change the appearance of the environment.
That flexibility is useful when a location needs several related variations. You might want the same environment to feel greener, wetter, colder, or more exposed. Build the main shapes first, then use the surface and scatter layers to develop the setting without manually placing every small element.
13. Ivy Generator — Let Nature Take Over Your Buildings
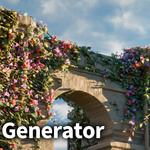
Ivy can change the story of a scene very quickly. A bare concrete wall might belong to an active building; cover parts of it in vines and the same structure can begin to feel abandoned.
This Ivy Generator includes more than 30 presets, surface-snapping and collection-attachment features, and adjustable wind animation. It is intended for covering buildings, rocks, and other environment surfaces with vegetation.
Use it selectively around roof edges, broken openings, or shaded walls, then vary the coverage. For a post-apocalyptic environment, the contrast between exposed architecture and areas swallowed by plants can help suggest how long the location has been left alone.
14. Baga River — Draw Water Through the Landscape

Baga River lets you choose a preset and draw a river in the viewport, then customize its shape, surrounding scatter, and asset distribution.
The listed features include animated water surfaces, procedural foam, terrain carving, and camera culling. It also includes river presets and supporting assets, helping the water sit within a more complete environment.
This would be useful for a woodland stream, a river beside a village, or a landscape where the water leads the viewer toward the subject. The animation is a procedural surface effect, so choose it for that workflow rather than assuming it provides a general-purpose fluid simulation. Check its BagaPie version requirements when setting it up.
15. Baga Rain — Make the Weather Part of the Scene

Rain works best when the environment responds to it. Falling droplets are only part of the effect; surface splashes and wet-looking materials help sell the weather.
Baga Rain combines Geometry Nodes rain with a procedural shader overlay for existing materials. Its distribution system accounts for surfaces exposed to the rain, with different approaches for smaller and larger scenes.
For a gloomy alley or a stormy exterior, it gives you several connected pieces of the effect in one workflow. The creator describes the animation as appearance-focused rather than physically accurate and lists renderer limitations, including the point-based splashes not being supported in Eevee. Check those details against your intended render setup.
The Details That Make a Scene Feel Complete
16. Procedural Signs — Give Your Streets an Identity
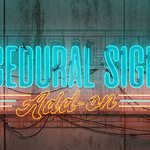
A street full of blank buildings can feel unfinished even when the architecture is detailed. Signs introduce businesses, advertising, directions, and the visual clutter of everyday life.
Procedural Signs includes different sign types, from neon lettering and billboards to LED panels and pixel displays. Depending on the sign, you can work from text, images, or video and customize the appearance.
This is useful for making a generated city feel specific to your story. A convenience store, a cinema, and an abandoned shopping street should not all communicate the same thing. Design the graphics around the location, then use the signs as part of the lighting and composition.
17. DJH Strands — Add Ropes, Chains, Wires, and Knots

Ropes and cables can be surprisingly time-consuming once you need them to sag, wrap around objects, or form convincing knots.
DJH Strands is a modular Geometry Nodes library for placing and shaping curves, adding related strands, and turning them into ropes, braids, chains, and similar objects. Its modifiers can be stacked so the setup remains editable as the scene changes.
Think of hanging wires in a ruined street, ropes around a dock, or chains securing a heavy object. These are small details with a strong visual effect. The creator primarily positions Strands as a modeling toolkit; although some tools use simulation, it should not be treated as a polished rope-animation simulator.
18. DJH Geometry Node Assets — Expand Your Procedural Toolbox

DJH Geometry Node Assets is a collection of reusable modifiers and custom nodes covering tasks such as deformation, building tools, generators, and debugging.
Its modular approach is the main attraction. You can combine tools and supply your own template objects or instance collections, allowing the result to carry the style of your assets.
This is useful if you enjoy building procedural workflows but keep recreating the same supporting setups in different projects. It requires more involvement than choosing a finished scene preset, but that also gives you room to develop something specific. Think of it as a toolbox you return to across many projects.
Explore DJH Geometry Node Assets
Characters, Clothing, and Horror Details
19. Human Generator — Put People Into the World

Human Generator provides a workflow for creating realistic people inside Blender, with controls for body and face shape and a content library covering skin, hair, outfits, poses, and expressions.
Characters come rigged, and the tools include age adjustment, facial controls, and options for preparing lighter exported meshes.
For environment artists, a person can do more than fill an empty space. They establish scale, direct attention, and turn a location into a scene with a story. Human Generator gives you a customizable starting point for that role, whether you need someone standing beside a building or a character who carries more of the shot.
20. AutoCharacters — Explore Body Shapes and Character Styles
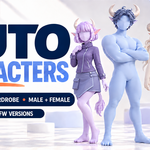
AutoCharacters offers male and female character bases with body controls, modular appearance options, clothing, and an included rig.
Its customization includes proportions and interchangeable features such as hair, ears, horns, and tails, giving it uses beyond everyday human designs. You can start from a preset and push the silhouette toward the character you want.
For stylized projects, fantasy characters, or early character development, that makes it easier to explore alternatives before committing to further modeling. The Base and Complete editions include different amounts of clothing and pose content, so match the package to what you actually need.
21. Divine Cut — Create Clothing for Your Characters
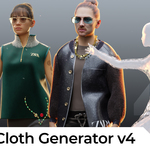
A character base is only the beginning. Clothing communicates occupation, setting, personality, and the kind of world that character belongs to.
Divine Cut focuses on generating and editing clothes in Blender, with garment-shaping tools and presets that help move from a simple starting form toward a more developed outfit. Its listed features also extend into details such as frills and other clothing additions.
This is useful when an existing clothing library does not quite fit your design. Build the garment around your character, adjust its shape, and refine the details for the shot. Custom bodies and poses can still require fitting work, so leave time for that final pass.
22. Cloth Ripper — Make Fabric Look Worn and Damaged

Clean fabric can feel out of place on a survivor walking through a ruined city. Cloth Ripper adds procedural tears, holes, and frayed edges, with controls for the intensity, direction, and randomness of the damage.
The Geometry Nodes setup uses vertex groups to control tears and edge fraying, and supports animated objects, rigs, and Alembic workflows.
Its usefulness goes beyond character clothing. Torn curtains, damaged banners, and old fabric coverings can all contribute to an abandoned environment. Keep the damage tied to the object’s role: a few deliberate tears often say more than shredding every surface equally.
23. Zombie Generator — Give Existing Models an Undead Look

Zombie Generator focuses on procedural shaders that give existing models a zombie appearance. You supply the model, then customize the surface treatment.
That makes it relevant when you already have a character or creature and want to develop a horror variation. The underlying silhouette, pose, and animation still matter, but the shader treatment can help push the appearance toward decay.
For an apocalypse project, I would approach it as a finishing stage: establish the character first, develop the clothes and visible wear, then work on the undead materials. The result will be more convincing when all those choices tell the same story.
Build Around the Shot
You do not need every tool here to make a convincing environment. Choose a few that solve the most time-consuming parts of your particular scene.
For an abandoned city, start with the large structures, then use damage, trash, and vegetation to establish what happened and how much time has passed. For a forest settlement, focus on the terrain, trees, houses, and paths that connect them. For a character scene, concentrate detail where the camera will actually see it.
Procedural tools are especially valuable when the composition changes. You can reshape a building, move a river, adjust a tree, or change the amount of damage while keeping much of the work editable. That leaves more time for the decisions that give the image its character: lighting, framing, atmosphere, and the story you want to tell.