You probably started learning Blender because you wanted to make a movie, create an animation for a game, or bring a story of your own to life. Have you made it yet? If you haven’t, here are some Blender features that can help you get there. We’ll go from the first storyboard to the final edit, with a few add-ons along the way for the jobs that take the most time.
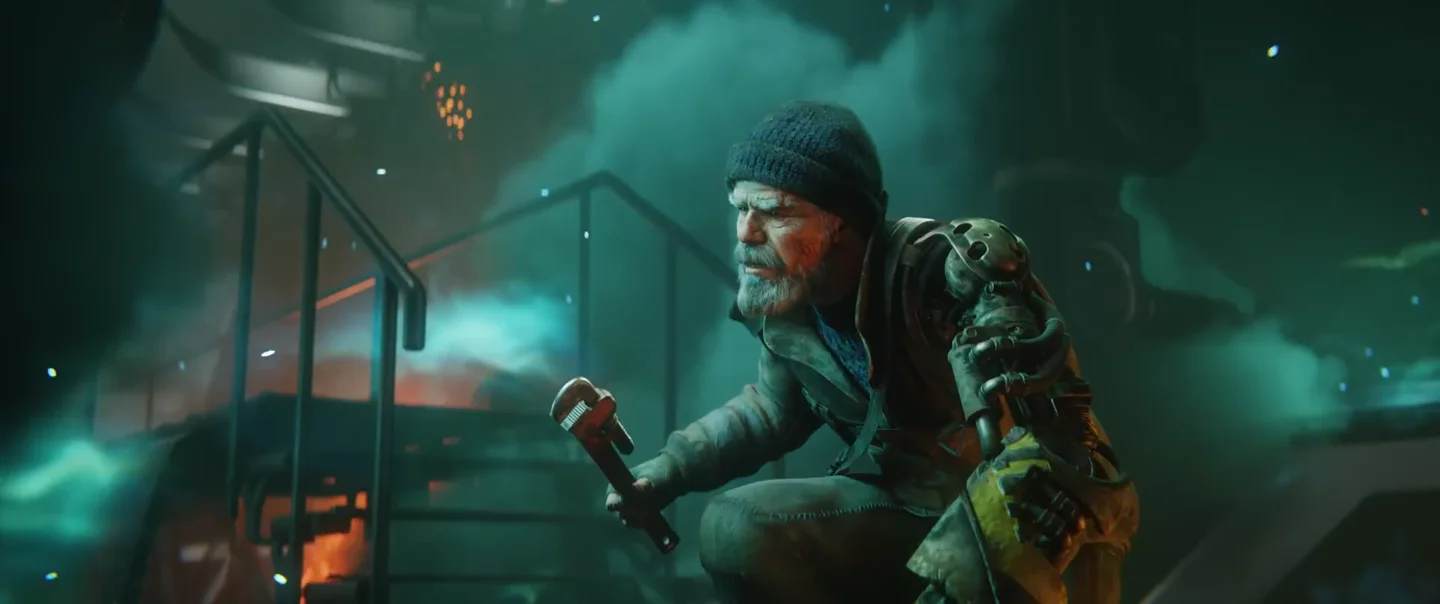
A finished shot from Charge, Blender Studio’s short film about a break-in at a battery factory. Charge · © Blender Foundation.
Cut the story before you build the set
One of the first features worth learning is Grease Pencil. You can draw the main poses for a shot, keep the characters and backgrounds on separate layers, and turn on onion skinning to see how one drawing lines up with the next.
Bring those drawings into the Video Sequencer, add a rough dialogue recording, and you’ve got an animatic. Play it back and you can hear whether a pause works, whether a reaction needs another beat, or whether you can cut a shot altogether. Those changes take seconds while you’re still working with drawings.
For planning in three dimensions, Blender’s cameras and scene strips let you cut together a sequence using simple models. You can try a wide shot, cut to a close-up, and check whether the action is clear from both angles. In Blender 5.0 and later, turn on Sync Scene Time in the Sequencer playback controls to synchronize the active scene with the shot under the playhead. That lets you scrub to a cut, adjust the camera for that shot, and play through the edit again.
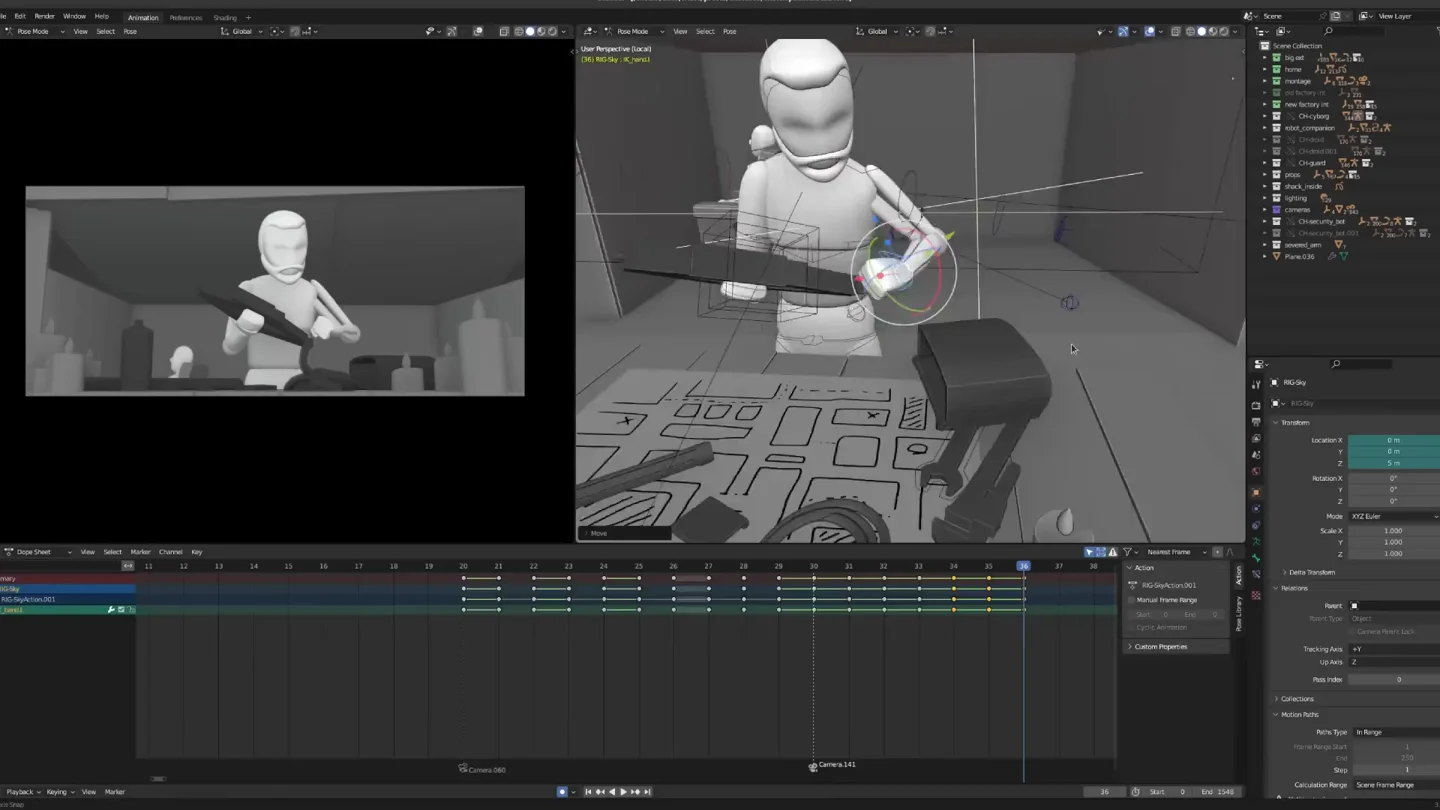
The camera view on the left shows the shot. The wider view on the right shows how the crew staged it using simple models. Charge previsualization · © Blender Foundation.
Build the assets your camera will see
For modeling, Blender has mesh tools for building props and sets, sculpting brushes for organic detail, and modifiers that keep parts of a model adjustable. A Bevel modifier controls how an edge catches the light. A Mirror modifier lets you build both sides of a character together.
The slower job is often preparing a detailed sculpt for animation. RetopoFlow helps you draw new geometry directly over the sculpt and guide the edge loops around areas that need to bend, like the mouth, elbows, and shoulders.
For textures and materials, Blender lets you unwrap a model, paint onto its surface, and use shader nodes to control how it reacts to light.
Two add-ons help with different parts of that work. UVPackmaster is useful when you have hundreds of texture islands to fit together and want a consistent level of detail across your assets. Fluent Materializer helps when you’re building layered finishes. You can put chipped paint on exposed edges, grime in recesses, and fine scratches across the surface, then adjust each effect separately.
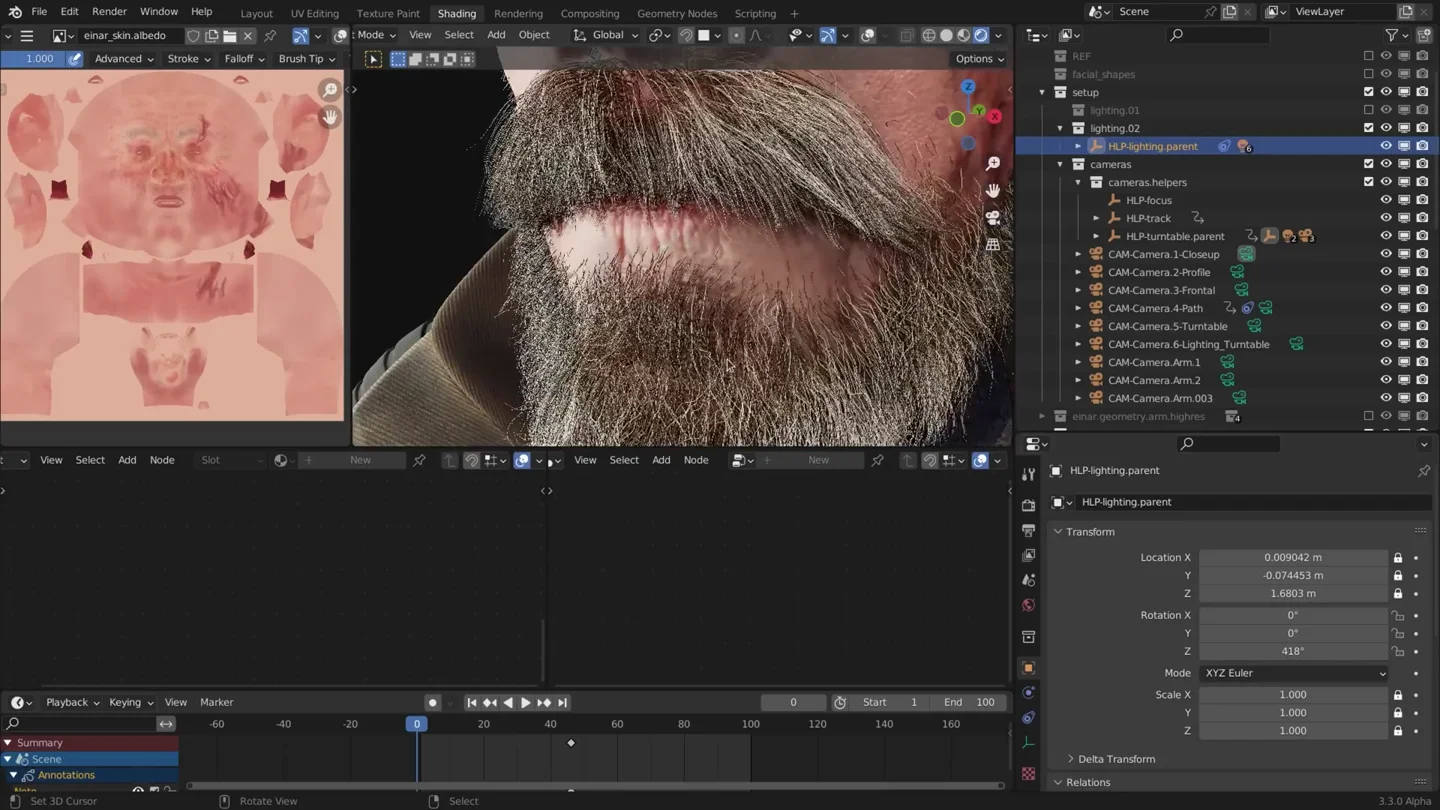
The flattened face texture and the shaded model sit side by side. The mouth is a good place to check that texture detail lands where the face will move. Making of Charge · © Blender Foundation.
Geometry Nodes is especially useful for building environments. You can distribute trees, rocks, or grass across a surface, then vary their size and rotation.
The setup gets more involved when each type of vegetation needs its own rules. Grass might grow on gentle slopes, trees might thin out at higher elevations, and a path needs to stay clear through both. Geo-Scatter gives you controls for slope, altitude, density, and masks, so you can direct each part of the environment from its own settings.
Give the character a performance
For character rigging, Blender gives you armatures, weight painting, constraints, and inverse kinematics. These tools let you build controls for an animator, decide how the mesh bends around each bone, and keep a foot planted while the body moves.
If you’re rigging several characters, Auto-Rig Pro can save setup time. You place markers on the character, generate the rig, and refine the joints and weights. It also helps transfer motion capture between skeletons with different proportions.
Once the character is rigged, the Dope Sheet and Graph Editor give you two ways to refine a performance. In the Dope Sheet, you can move a pose a few frames earlier or hold it for longer. In the Graph Editor, you can change how sharply the movement starts and how gently it settles.
Actions let you save movements, and the Nonlinear Animation Editor lets you arrange and blend them. For revisions, the Animation Layers add-on is useful. You can keep an approved walk and give the animator a separate layer for a head turn or a change in posture.
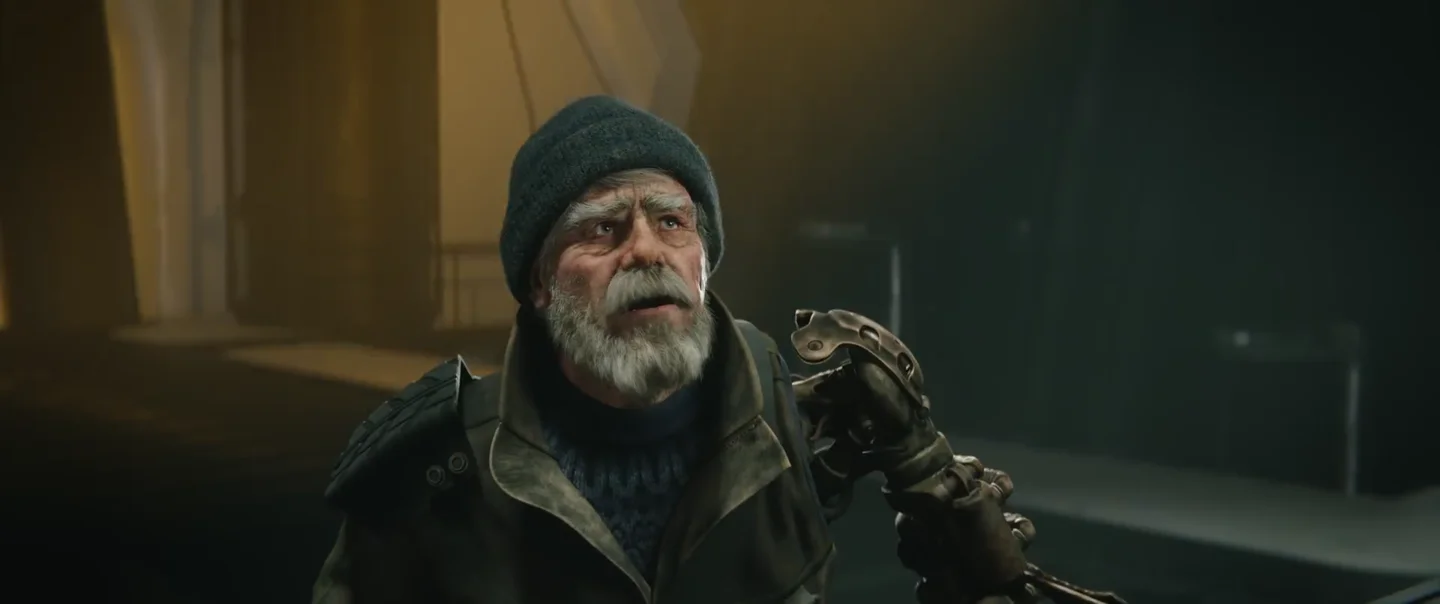
A reaction can carry a cut. In this close-up, Einar’s upward glance tells us where to look next. Charge · © Blender Foundation.
For facial animation, shape keys let you build expressions and mouth shapes, then blend between them. Dialogue takes time because even a short sentence can involve several changes of mouth shape.
The Lip Sync add-on by Charley 3D can analyze a voice recording and generate a first pass of mouth keys. The animator can then concentrate on the words that carry the performance, closing the lips a little earlier for an M sound or holding a vowel longer for emphasis.
Move the camera and add physical effects
Blender’s camera tools give you control over focal length, depth of field, focus distance, and movement. You can animate a focus pull between two subjects, send a camera along a curve, or bind cameras to timeline markers to switch angles during playback.
For shots that need a dolly or crane, the Add Camera Rigs extension gives you ready-made controls. You can adjust the travel of the rig and the aim of the camera separately, which is handy when the move feels right but the framing needs a correction.
Blender also has tools for hair, cloth, rigid bodies, smoke, fire, and liquids. Hair guides let you shape a groom and generate more strands between the guides. Cloth simulation handles folds and collisions, while rigid bodies can make loose objects fall, bounce, and settle.
If you need a moving banner or a piece of hanging fabric, Cascade provides prepared cloth motion you can audition in the Asset Browser. For shots built around splashes or turbulent water, FLIP Fluids gives you dedicated controls for viscosity, surface tension, foam, bubbles, and spray.
Light the shot and budget the render
Lighting and rendering determine which of those details the audience can actually see. Area lights give you control over the size of a reflection and the softness of a shadow. A sun light gives you a consistent direction outdoors, and an environment image can provide surrounding light and reflections.
Workbench is handy for quick animation reviews. Eevee gives you fast feedback and can render finished shots. Cycles uses path tracing for more detailed light transport. When choosing an engine for a film, render a few seconds of movement. Fine hair, glossy highlights, and dark shadows are much easier to judge in playback.
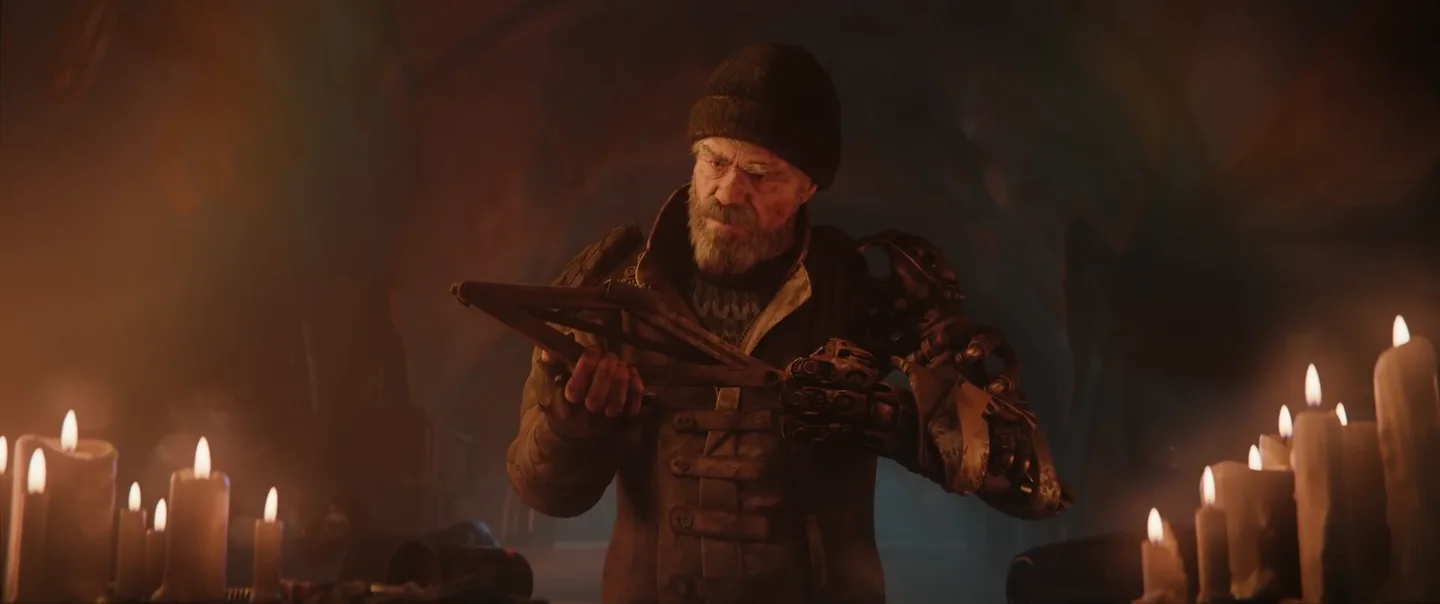
In the workshop, pools of candlelight draw your eye to Einar’s hands and face. Charge · © Blender Foundation.
Render time adds up quickly. At 24 frames per second, one minute of animation contains 1,440 frames. If each frame takes four minutes, that’s 96 hours on one computer.
Blender can render to an image sequence, so an interrupted job can resume from the missing frames. If you have several machines available, Flamenco lets you submit the job from Blender and distribute frames among them. Each worker needs access to the project files and assets.
Match the footage and refine the composite
For live-action effects, Blender’s Movie Clip Editor can track features in footage and use them to reconstruct the camera move. It also supports object tracking, planar tracking for surface replacements, and masks for rotoscoping.
A rigid object turning away from the camera can be difficult to track because the details you started with disappear from view. If you have a matching 3D model, KeenTools GeoTracker can use its shape to help follow that object and keep a digital attachment or replacement aligned with it.
The Compositor lets you combine rendered elements with footage, key a green screen, refine mask edges, add glare, and adjust color.
One particularly useful feature is Cryptomatte. Enable the pass before rendering, and you can pick out a character, prop, or material afterward for a separate color correction. A multilayer OpenEXR image sequence can keep those passes together. That preparation pays off when a small change comes in after a long render.
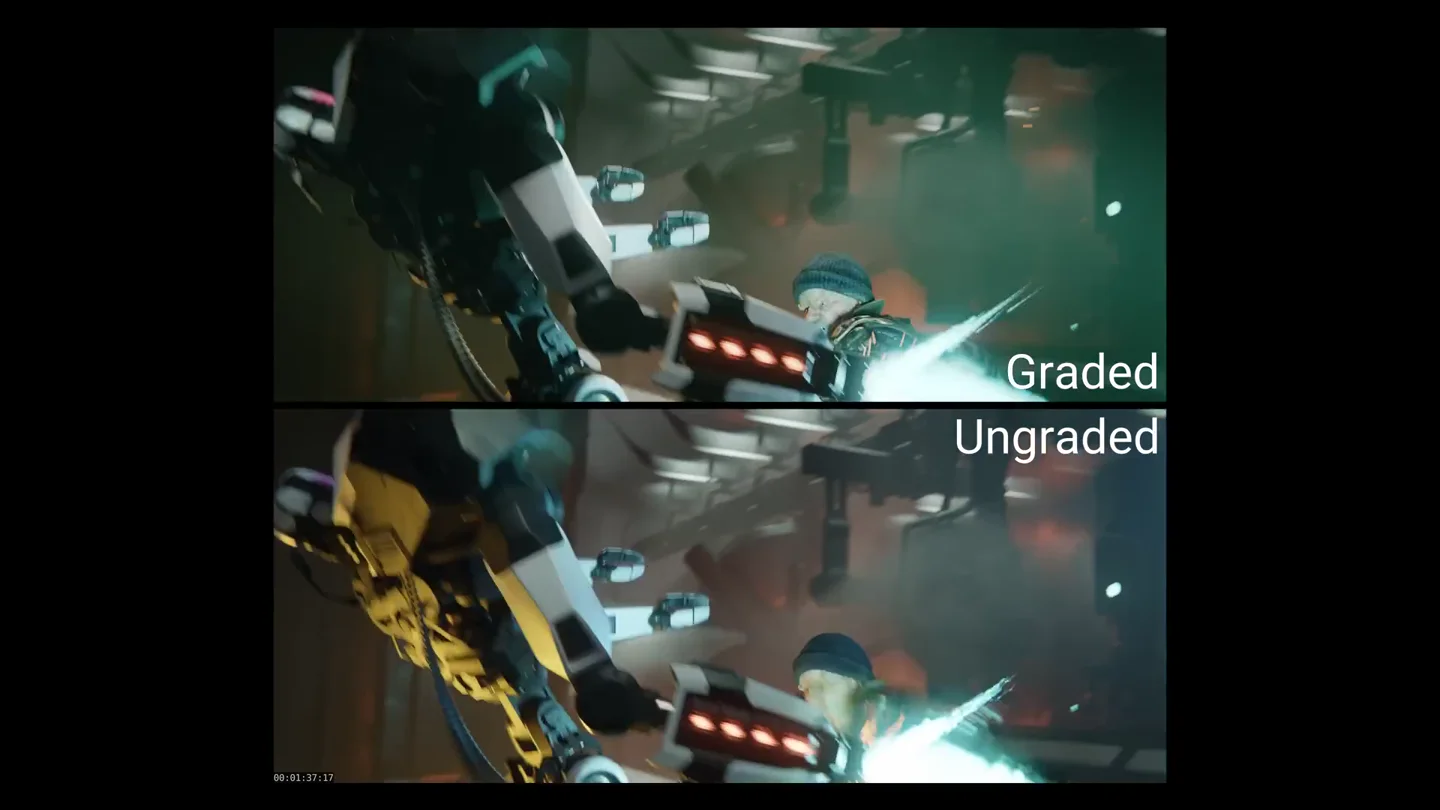
Compare the glow around the tool and the color of the droid in these graded and ungraded versions of the same frame. Making of Charge · © Blender Foundation.
Cut the picture, mix the sound, and keep shots in sync
For editing and sound, the Video Sequencer lets you trim shots, rearrange them, add titles and transitions, and mix dialogue, music, and effects. Waveforms help you line up cuts with spoken words or individual sounds.
If high-resolution footage makes playback sluggish, generate lower-resolution proxies for editing. You can keep working on timing and use the original media for the final export.
As a film grows, the Asset Browser, linked libraries, and library overrides help you reuse characters, props, and materials across shots. A shared character can receive a model update while each shot keeps its own performance.
For a team already using a Kitsu server, the Blender Kitsu add-on connects shot files with casting, frame ranges, and review versions. That becomes valuable when an editor extends a shot and the animator, render team, and editor all need to work to the same new length.
Start with three shots
If that first movie is still on your to-do list, start with a sequence short enough to finish. Draw three shots, put them in the Sequencer, and give them a few seconds of sound. Play the cut through. You’ll know which shot needs a better camera angle, which movement needs animating, and which assets are actually going to appear on screen.
Stills from Charge and its production breakdowns, © Blender Foundation · CC BY 4.0. Frames have been resized for this article.