

Blender comes with a lot of options hidden away in menus that can completely change how smooth your workflow feels and how polished your final renders look. If you don’t adjust these, you might be slowing yourself down without even realizing it. Let’s go through the most important ones.
Output Settings – Resolution, Frame Rate, and Format
The Output settings in Blender determine how your final renders and animations are saved. Under the Output Properties tab, you’ll find options for Resolution, Frame Rate, and File Format.
- Resolution: Controls the size of your final image or animation.
- Frame Rate: Dictates how smooth your animation will look.
- Format: Choose between PNG for stills, EXR for compositing, or MP4 for video.
Rigid Body World – Simulation Steps and Solver Type
The Rigid Body World controls physics for rigid simulations like falling objects or collapsing walls.
- Simulation Steps: More steps = better accuracy, but slower.
- Solver Type: Bullet is the default and works well in most cases.
Subdivision Surface – Levels for Viewport and Render
Subdivision smooths your models by adding more geometry.
- Levels Viewport: Controls smoothness while you’re editing. Keep this low (1–2).
- Levels Render: Controls smoothness in final renders. Raise this (3–4) for polished output.
Cloth Simulation – Quality Steps, Pressure, Collision
Cloth simulations rely heavily on three main settings:
- Quality Steps: Higher means smoother and more stable cloth.
- Pressure: Makes cloth inflate, useful for balloons or cushions.
- Collision: Prevents clipping and ensures realistic interaction.
Force Fields – Strength and Falloff
Force Fields control how particles, cloth, or rigid bodies respond to invisible forces.
- Strength: How powerful the force is.
- Falloff: How the force weakens over distance.
Cavity Shader (Viewport Overlays)
The Cavity Shader highlights ridges and valleys in the viewport, making details easier to see while modeling or sculpting.
Persistent Data (Render Properties → Performance)
Enabling Persistent Data lets Blender keep cached data between renders. This reduces render start times dramatically, especially for animations or test renders.
Relative vs Absolute Paths (Preferences → File Paths)
- Absolute Paths: Store the full file location, can break if you move your project.
- Relative Paths: Store paths relative to your
.blendfile—perfect for portability.
Auto Pack Resources (File → External Data)
When enabled, Blender automatically packs external files like textures into your .blend. This makes your project fully portable but can increase file size.
Simplify (Scene Properties → Simplify)

Simplify is a performance booster that temporarily reduces scene complexity.
- Limit subdivision levels.
- Cap particle counts.
- Reduce texture size.
This keeps your viewport fast and responsive.
Shadow Catcher (Object Properties → Visibility)
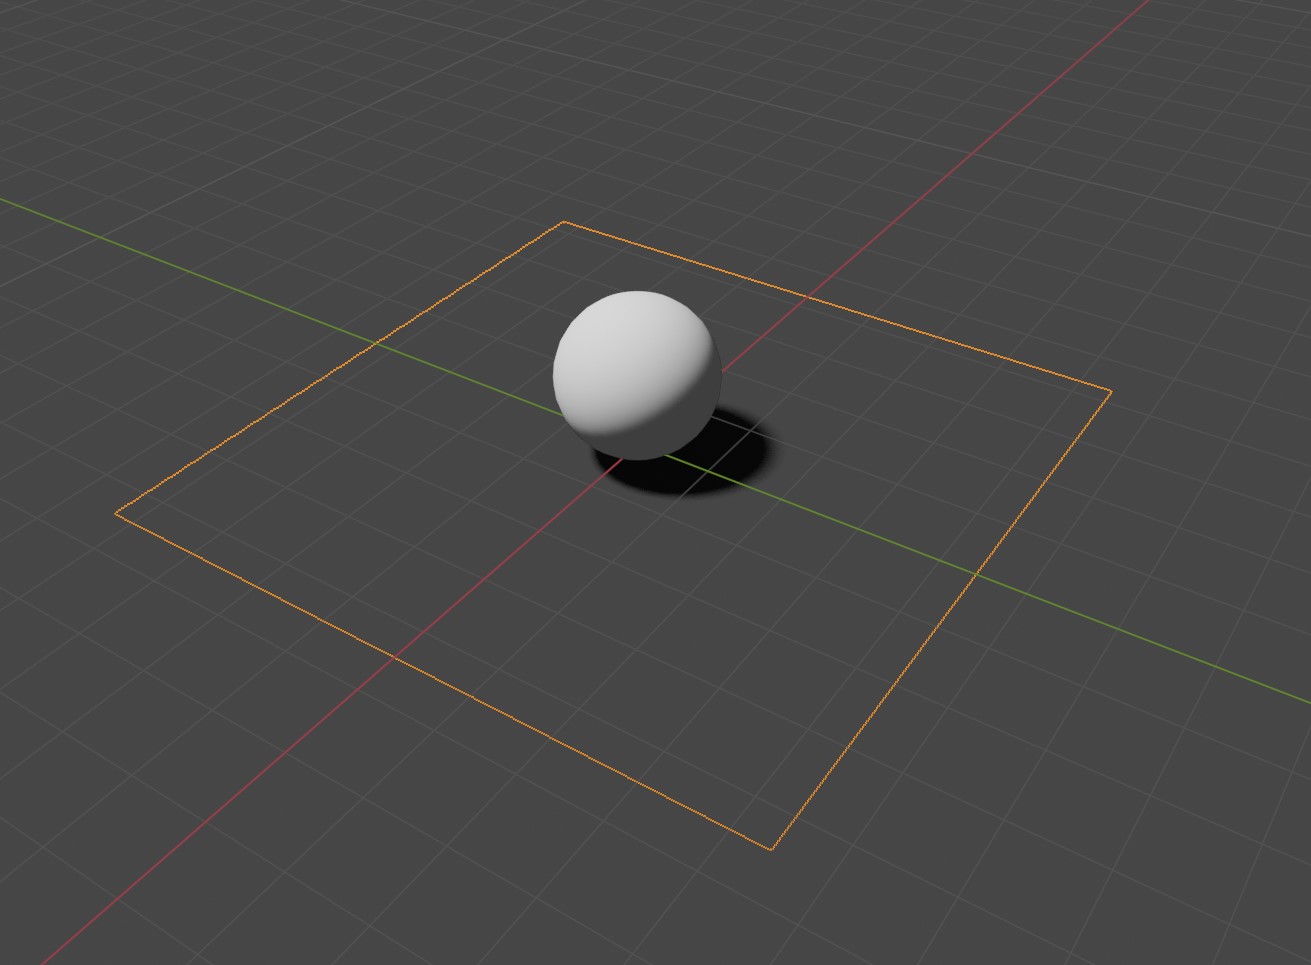
A Shadow Catcher makes an object invisible while still showing shadows on it. Perfect for compositing 3D models into photos or videos.

✅ By checking and adjusting these settings, you’ll make Blender faster, more efficient, and better suited for professional-level work.