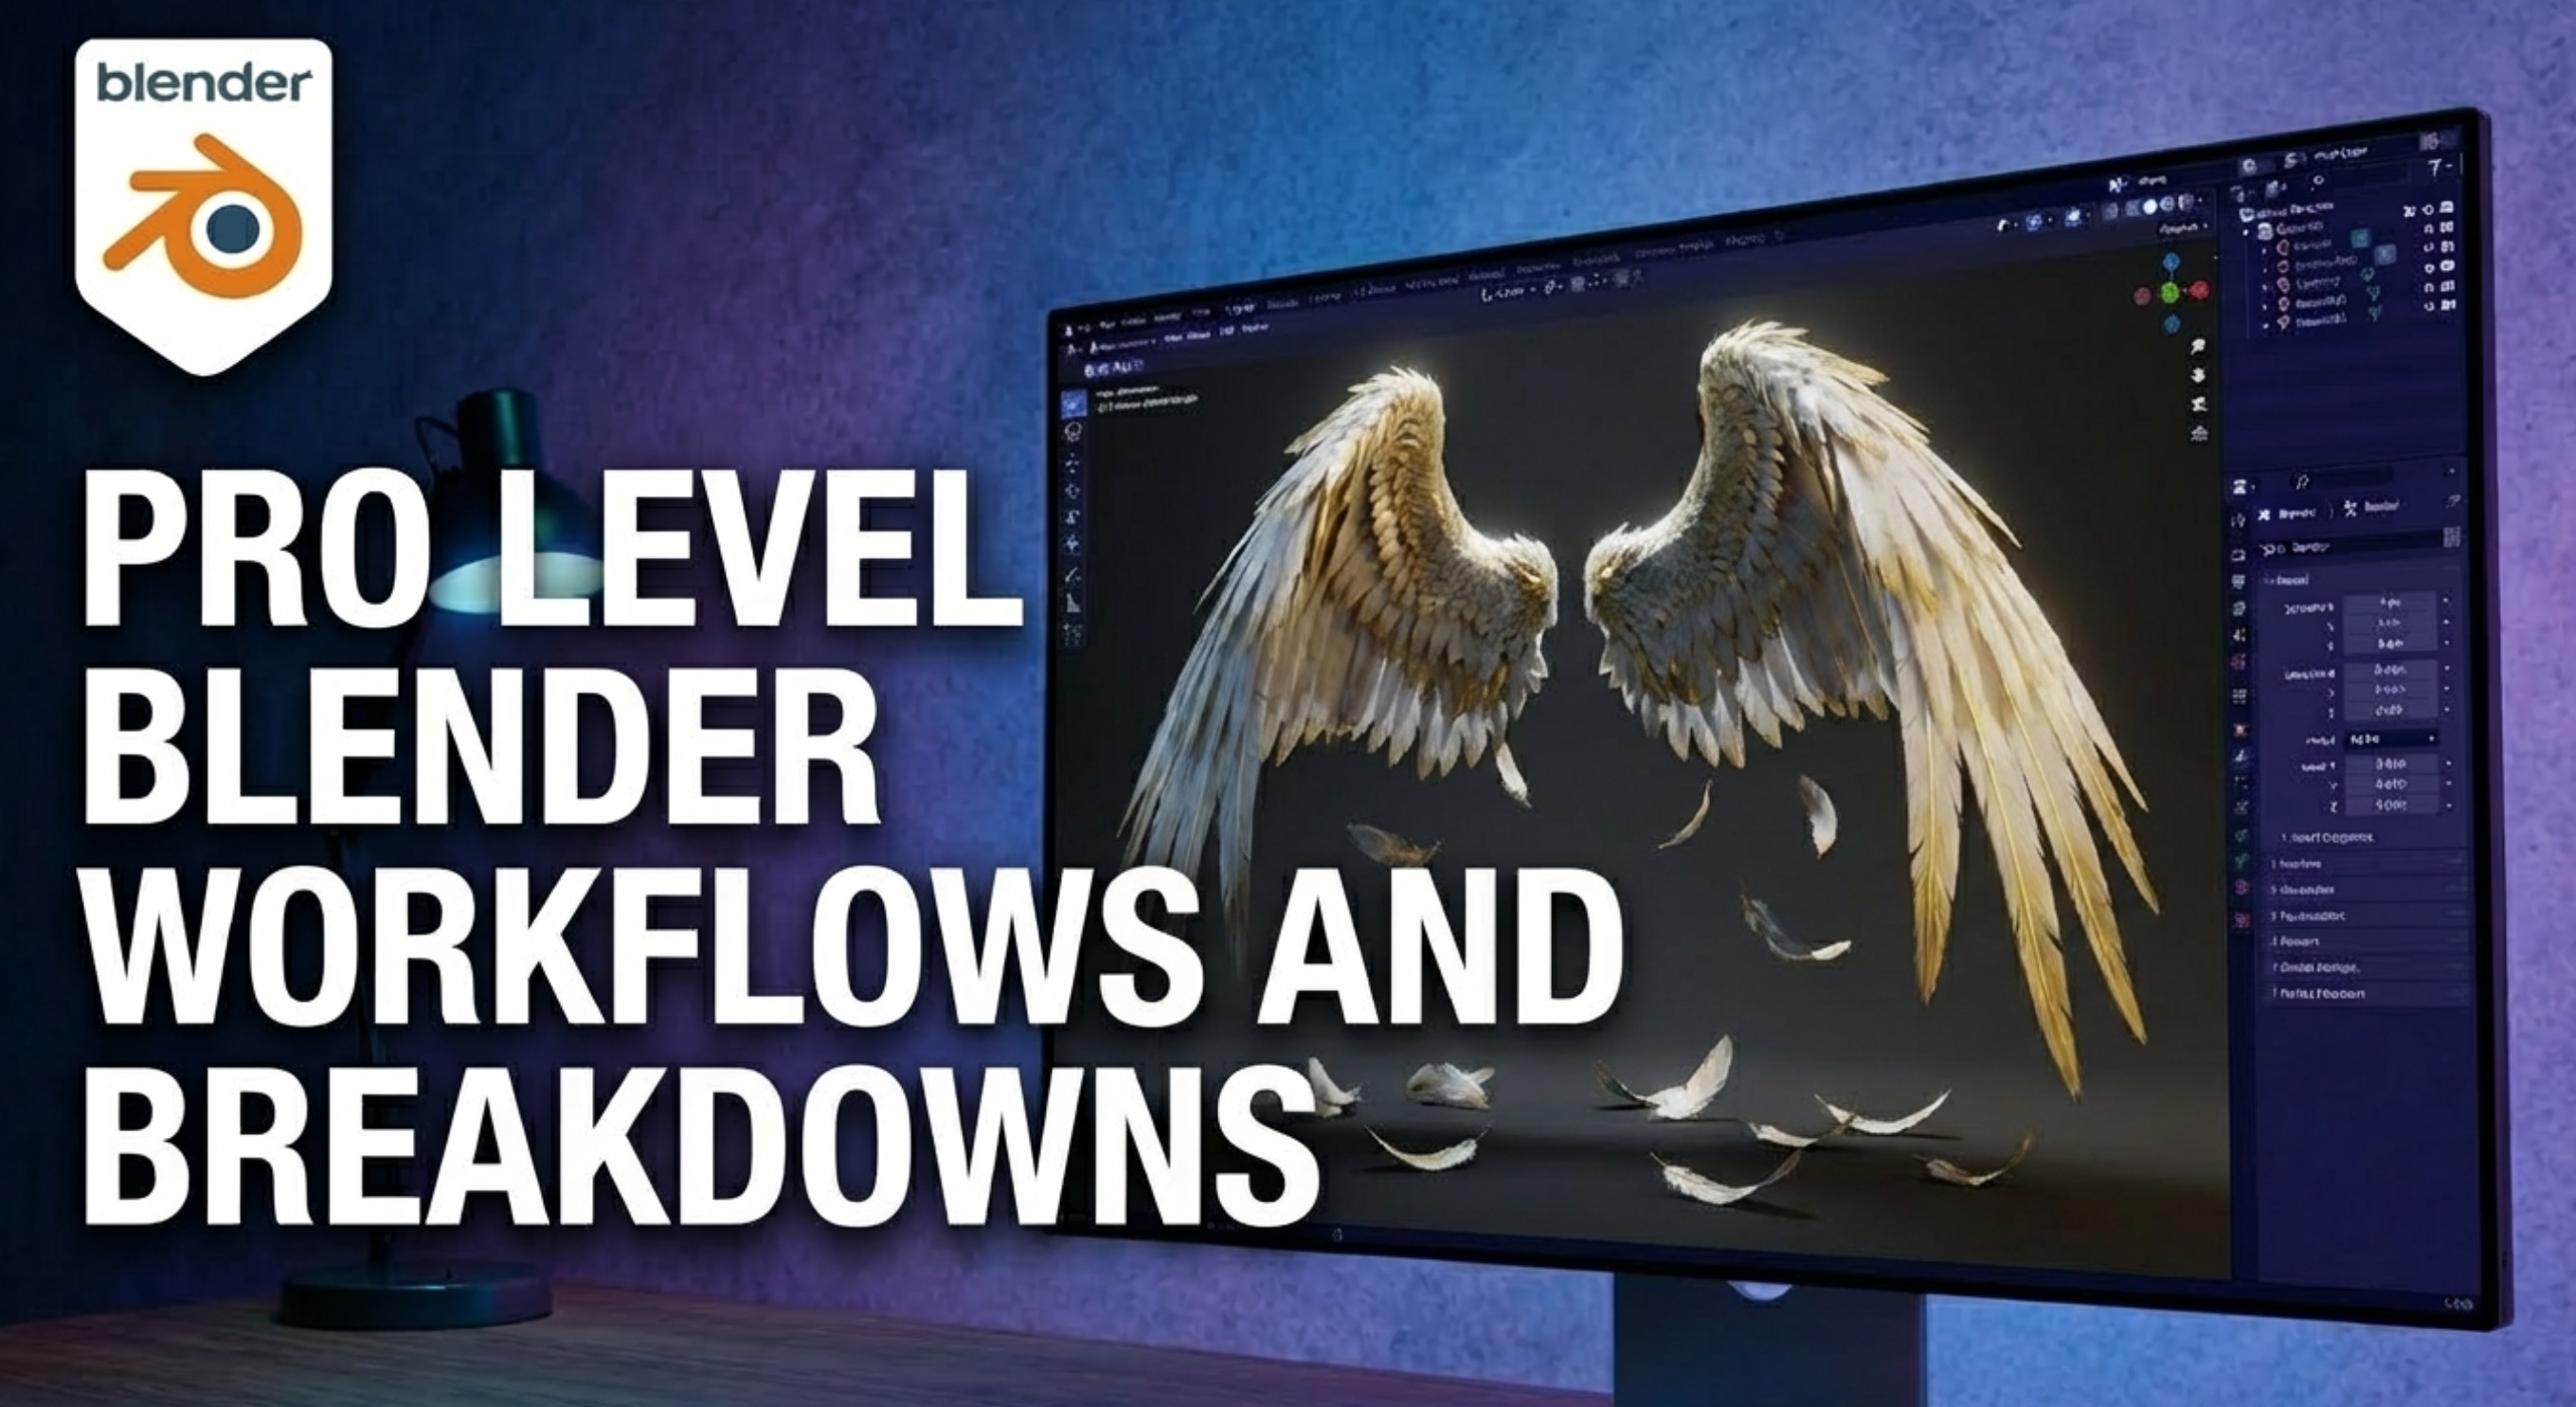


It’s another week, so let’s dive into some gorgeous Blender Geometry Nodes R&D. Before your favorite addons become addons, they start out as experiments like these—sneak peeks into the future of Blender tools.
1.
First up is this tilable destruction setup by Miettinen. Not only is the quality and detail impressive, but the fact that it runs in real-time is huge. It’s using premade instances, which I’m guessing is what makes it so fast to compute. I also love that it’s curve-based—you can art direct exactly where the concrete bends and fractures. On top of that, the interior even has some structural detail. Overall, just a really well-designed system.
2.
Next up is this flowing river of grass. Don’t let its simple look fool you—the simplicity hides a ton of complexity. You can’t just simulate water and then instance grass on top of the particles or fluid mesh, because the result would be a jittery mess. Instead, he’s using his cell fluid simulator to handle the instancing. That’s what makes it stable: the particle IDs don’t change when new ones are added, unlike with Blender’s default particle or fluid systems. The result? A smooth, believable flow of grass that feels alive.
3.
Next up is Hothifa, showing off his city generator, which I think is using the Paris or Euro buildings template. This one’s not just R&D—it’s already a real addon you can buy right now. What’s remarkable is how much detail Geometry Nodes–based tools like this can pack in. Texturing, UV unwrapping, modeling, instancing, materials—basically every part of the process gets compressed into just a few buttons. It’s honestly amazing to see how far these tools have come.
4.
Rigging is a different kind of art—one only 3D artists can truly appreciate. Take this cloth rig experiment by Bosun Omoloso. No shape keys, no cloth sim—just bones. And it’s a masterpiece. We’re talking around 50 bones deforming just to create the cloth folds of a single leg. The wild part? He’s using only one bone to drive all of them, pulling off that trouser-folding effect with pure rigging wizardry. Figuring out the constraints for this must have taken years of experience.
5.
Next up is this bread tearing solver by Constantine. Honestly, Blender should hire people like this—because building a solver of this level inside Geometry Nodes is no simple task. If someone can pull this off here, they could definitely help develop new features for Blender, especially in the simulation department. Let’s be real: RBD, cloth, and fluid sims haven’t seen a major update since around 2.8. At this point, any update would be welcome—even if it comes with a few bugs.
6.
7.
Speaking of updates—Blender 4.5 now lets you import OBJ files directly. Redjam9 took that a step further by figuring out a way to randomly offset the frames of imported OBJ meshes. The result? He can spawn hundreds of instances of the same character and animation, each playing at different intervals. It instantly turns into a crowd where no two animations look the same. On top of that, he can adjust the offsets for different instances at will—perfect for building armies, swarms of ants, or any kind of formation you can imagine.
8.
Next up is a simple but super satisfying showcase by llyasseL. It’s a Geometry Nodes loop of two meshes—one animated to boolean-cut through the other. Because it’s a loop, the old geometry becomes the new geometry in the next cycle, giving you this knife-cutting-through-batter style animation. It’s a great reminder that not every perfect animation needs a complex setup. This one runs on just a simulation zone, a boolean node, and an object—that’s it. Clean, simple, and oddly satisfying.
9.
I didn’t even know this was a thing—Daniel Bystedt just showed off a new feature coming to Blender that lets you pack UVs exactly where you want. You simply select the islands, then choose the area to pack them into. He didn’t show whether the lasso select tool will be supported (and that would be next-level amazing), but even as it stands, I’m already impressed. This feels like a serious game-changer for UV work
Next up we’ve got CGMatter, with a demo showing how to squeeze water out of a wet towel. He’s combining three different systems here—Geometry Nodes, cloth simulation, and fluid simulation. In his tutorial, he breaks down how it works: first detecting where the towel has the most stress, then turning that into a vertex group, and finally using that group as the source of the water. The result sells the illusion perfectly.
.
10.
Next up is Cartesian Caramel with another amazing demo. If you don’t know who he is—he actually worked on the new Sonic movies, so a lot of his R&D is the kind of stuff you’ll probably see in future blockbusters on Netflix or in theaters. He’s already shown off things like his Spider-Man-style web shooting demo (and I’d love to see how he approached the sticking effect, because those webs look incredible). He’s also the mind behind the folding demo using normal maps. Honestly, his R&D is always on another level.
11.
Next we have Specoolar, showing off how he uses SDF nodes in Geometry Nodes to calculate collisions for 30,000 particles—all in real time. The scene is baked into an SDF grid, which I’m guessing turns all the objects into one unified field. That makes it way easier to compute than running collisions on every single object separately.
What really blew me away is how accurate it looks. If you’re thinking this is just a particle system—look closer. Each leaf is treated as an actual mesh, not just a point. That’s why you don’t see leaves clipping through objects—the collisions are calculated correctly based on the shape of the mesh itself. I can’t wait to try this out.
12
And now, let’s crown today’s Best Addon Trailer with the Seal of Approval. This week’s seal goes to UVFactory. Their trailer is simple, clear, and straight to the point—showing off exactly what you get with the addon: live UV unwrapping, transforming UVs directly in the seam, island packing, and more. Congratulations to UVFactory for putting together the best trailer of the week!
13.
Now this one is seriously impressive—a portal inside Blender’s viewport. At first, I had no idea how you’d even approach something like this. My first guess was Booleans—maybe cutting the mesh in half, then mirroring the other side with transformations. And yep, after checking out the free project file, that’s exactly what they used. It’s Boolean-based, and yeah—it’s just as slow as you’d expect. Still, it’s impressive work, because figuring out the transformations alone is no small task.
20.
Next up is Grove 3D, a Blender addon that’s honestly so well designed it could rival SpeedTree. I’m not sure if it’s built with Geometry Nodes or Python—probably Python, since Geometry Nodes doesn’t currently provide UI elements like this. Either way, it’s seriously impressive.
Even their website caught my attention—you can literally grow a tree interactively, starting from a sapling and clicking an “add 5 years” button to see it expand into a massive tree. Such a clever and fun touch.
11.
To sign off, let’s end with a written note from Specoolar—though good luck reading it, because his words are literally on fire. It kind of reminds me of what happened with Animation Nodes. Does anyone know if they ever got merged into Geometry Nodes? I remember they weren’t developed or maintained by the official Blender team, but the project always seemed so promising.
Anyway, that’s it for today. For the final demo, here’s how you can use my free addon SendNodes with my website to create epic Blender renders. Just copy templates straight from the site—start with a backdrop, drop in a camera, throw in some particles, add a bit of text—and you’re done. Thanks for watching, and see you in the next one!