Making a futuristic scifi modular bridge in blender
If you want to make things like bridges that have repeating parts, you should try making them modular and avoid arrays like a plague, here you will see i do use array but i limit them to a count of 2-4.
Arrays duplicate the geometry which makes the project heavy and therefore slowdown your viewport, if you then add a bevel modifier which you will likely do because of how amazing bevels make hardsurfaces look, this will further slow the viewport and nearly double your polycount.
The best alternative to arrays is instances, geometry nodes is a great way to work with instances but it takes alot of time to setup, your second option is to use the duplicate as instance option using ALT + D to make copies of repeating parts, instances use the same data as the original objects hence keeping the polycount constant and not adding to computation calculations for new mesh data that would have to be done if you used SHIFT + D to make a copy or Array modifer.
after you make a module you can take advantage of collection instances to make multiple copies
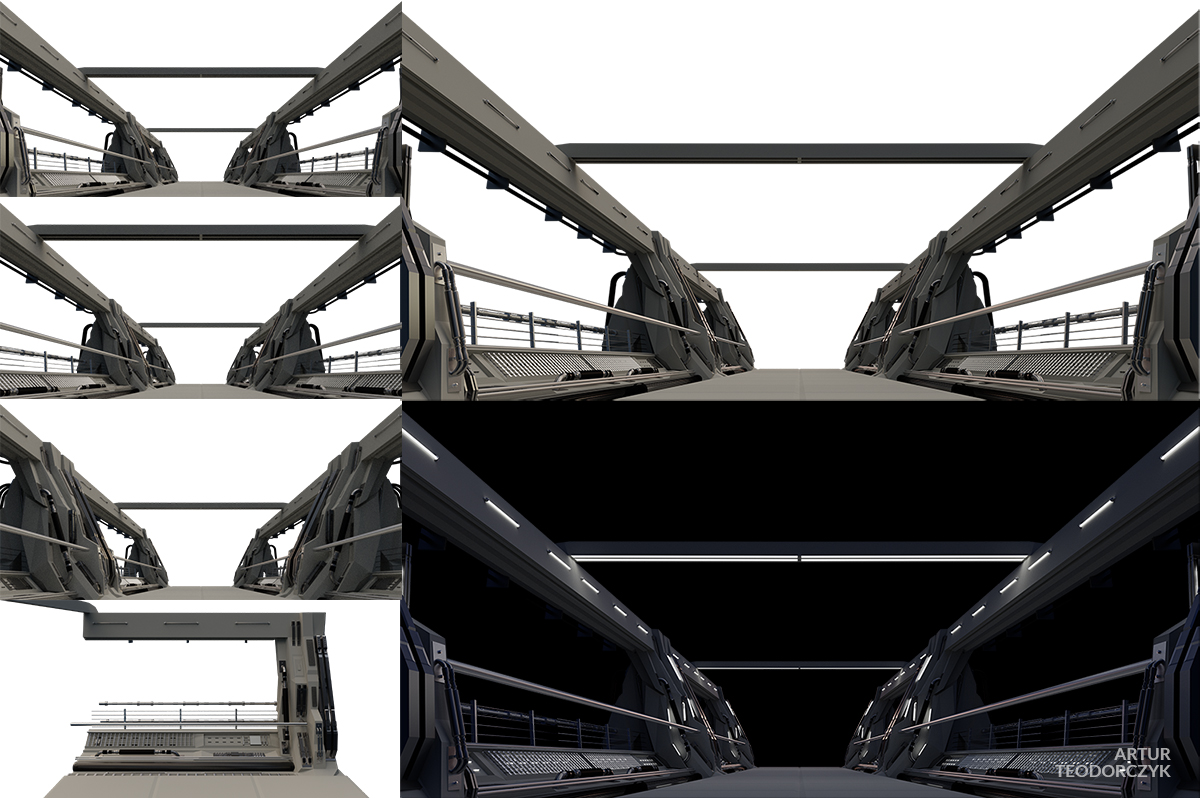
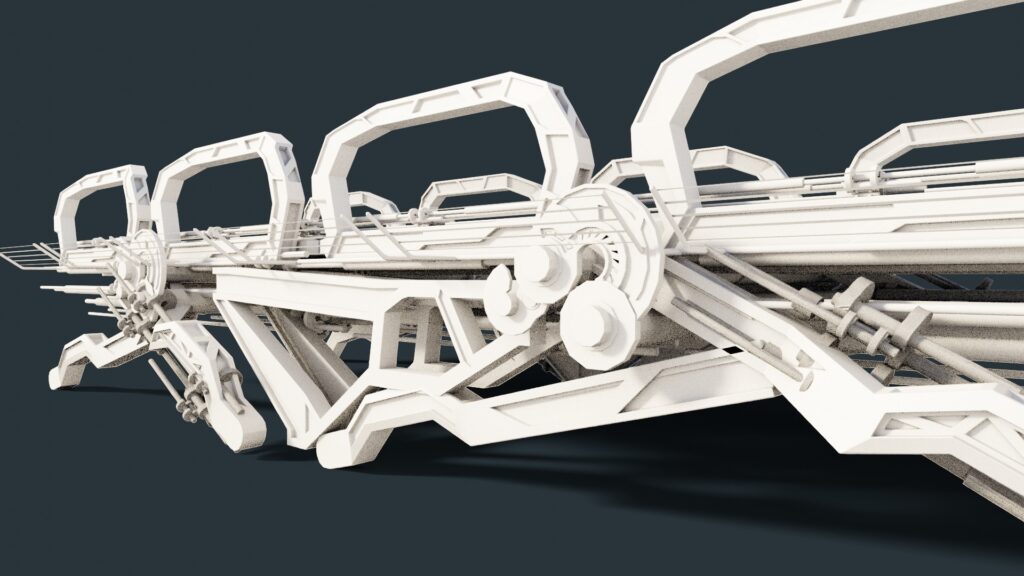
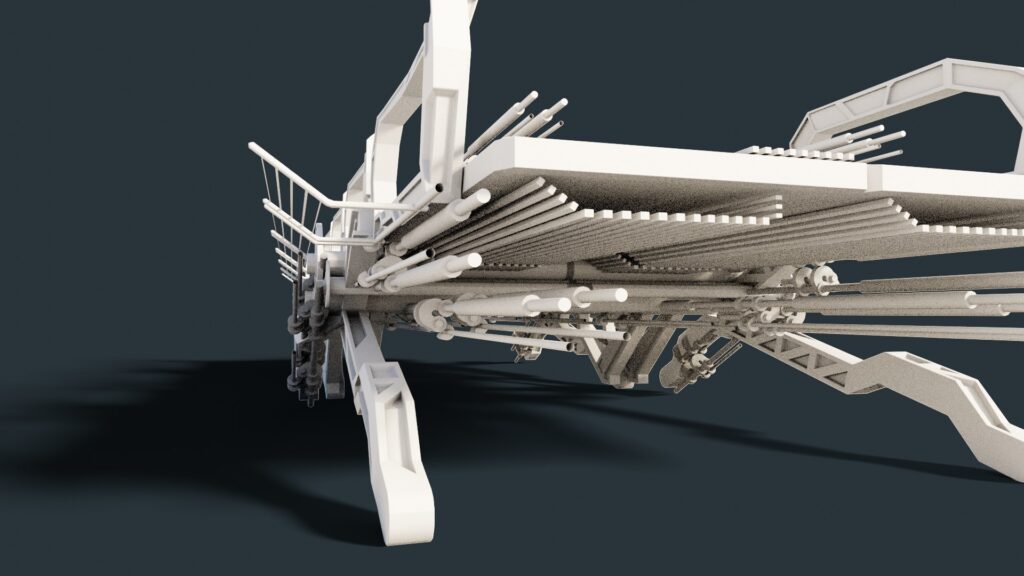
Render results:


Key shortcuts used for hard surface modeling:
- Alt + D duplicate an instance of an object instead of making a new copy
- Ctrl + B bevel edge
- Ctrl + shift + B bevel vertex
- I, inset face
- I, I inset selected faces individualy
- P, in edit mode this will make the selected parts of a mesh into there own object
- Ctrl + R add ring
- Shift + D if you are in edit mode you can make copies of selected faces, you can make instances in edit mode of an object
- F, fill a face or connect two edges/vertex
- Ctrl + F in edit mode will bring the face context menu, this menu includes theboolean, extrude, grid fill, options and more
- Alt S in edit mode will push and selected vertex, edge or face along its normals
Key modifiers used in hardsurface modeling in blender
- Bevel modifier: this beautifies the edges, makes them more rounded if combined with the autosmooth option and harden Normals turned on in the bevel modifier shading tab, the corners apear more realistic
- Mirror Modifier: this helps with symmetry but to take full advantage of its strength, i recommend using an empty object for the mirror object option in the mirror modifier, this way all objects you add have the same line of symmetry. you can have multiple mirror modifiers to add more symmetry detail
- Array Modifiers: though i dont like using this for its problems, when you limit the array count it can be a very useful modifier
Model coming soon on patreon as part of package
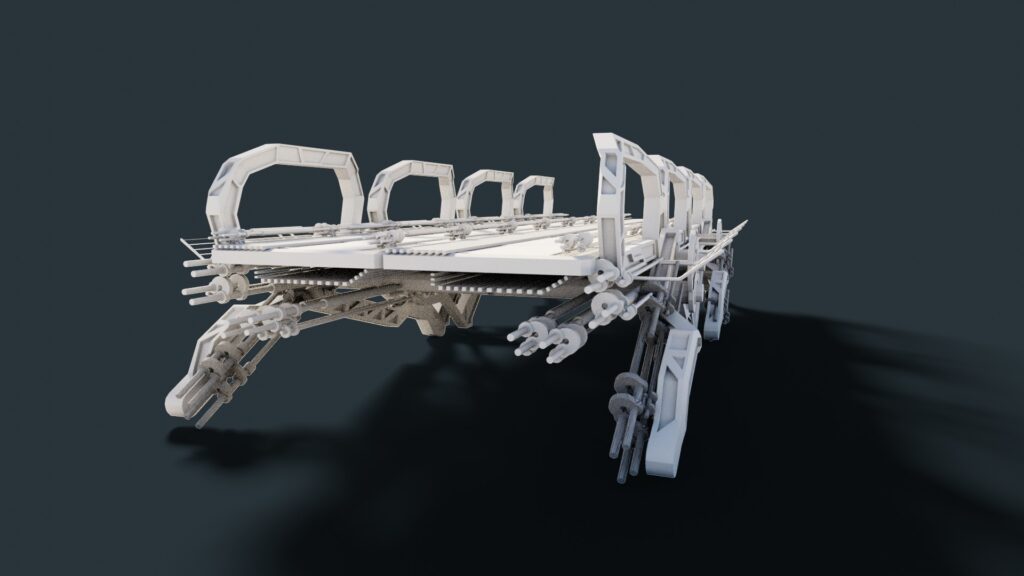
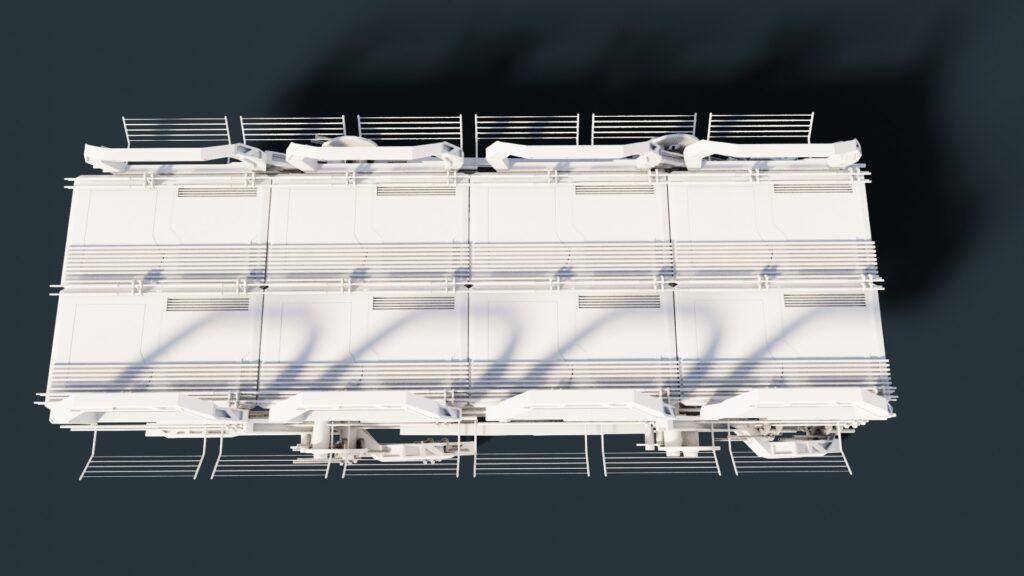
Reference images: